"Did you know that there is an easier, faster, more reliable and objective way to test your endoscope?"
Here's step-by-step guide (accompanied by pictures) on "How to inspect an endoscope in the most reliable way".
This blog was made in cooperation and with thanks to Jessie Lopez, one of America's leading sterilization department educators and a great Quality Assurance manager.
We're introducing the steps that you can take in order to ensure your rigid endoscope does not have any deficiencies and is safe for reuse. For additional information, you can find the "Rigid Endoscope Functional Test Checklist" enclosed in the link.
The device used in this blog and video is a 10 mm, 30 degrees rigid endoscope.
- Visual Inspection
Use light magnification for steps 1 through 3
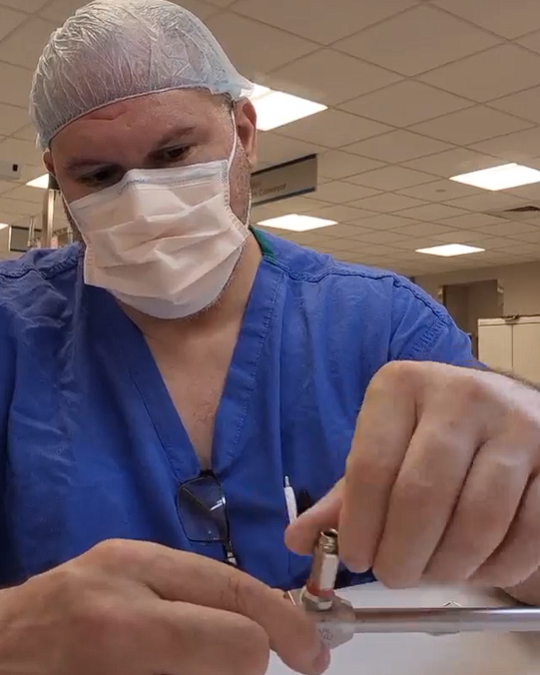
- 1. Check the body by examining the whole scope closely for cracks or other irregularities.
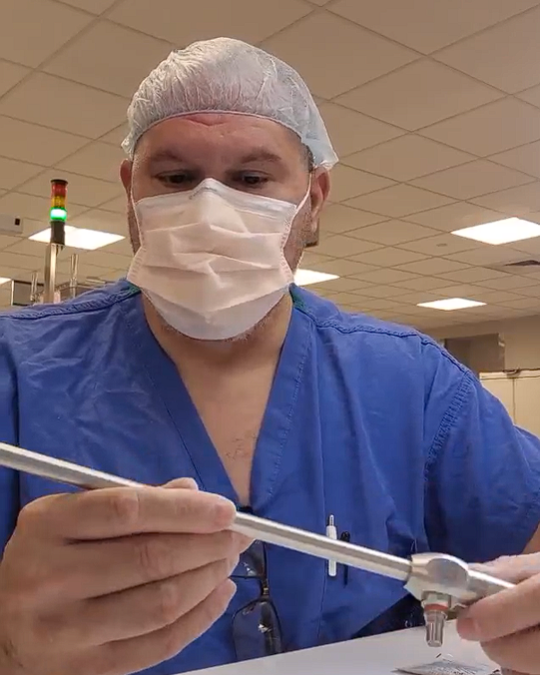
2. Look closely through the tip to verify that the lens is not foggy or cracked.

3. Visually check if light is passing through the scope by using a basic light source.
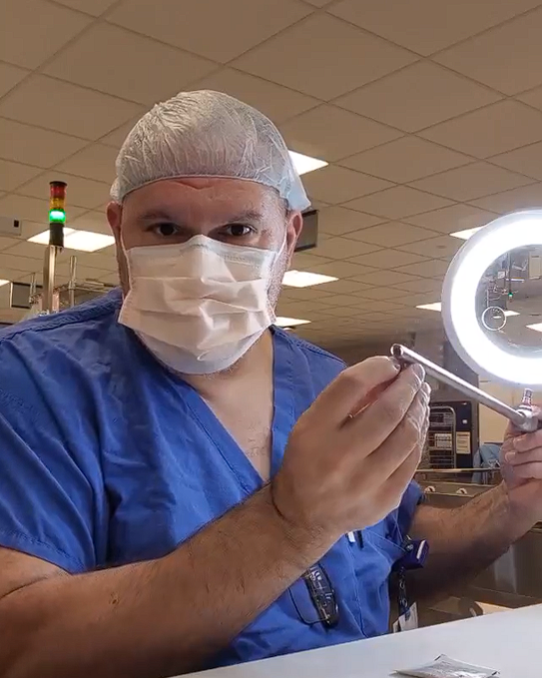
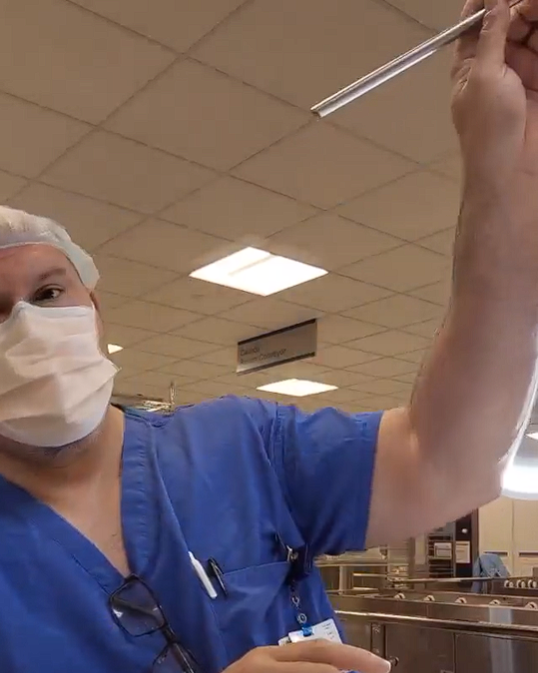
4. See if there are any possible fiber optic deficiencies by lifting the scope and looking through the tip, reverse the side and do the same. Make sure there is light passing through the scope during the whole time.
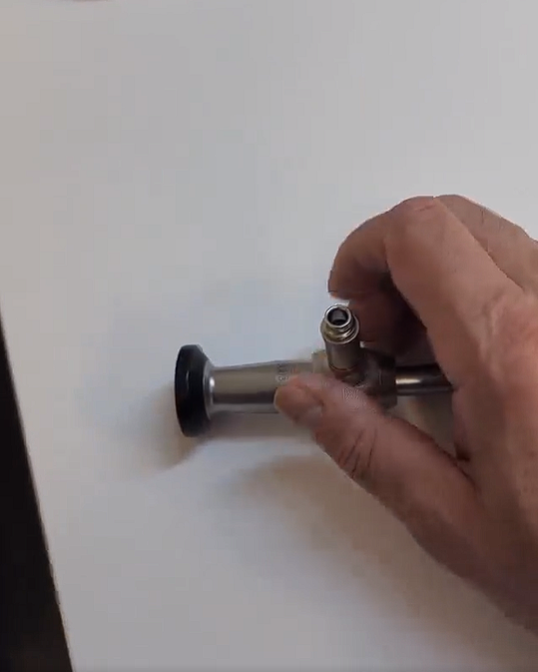
5. Next, make sure the 2 light source connector sleeves screw on and off smoothly, with no resistance.
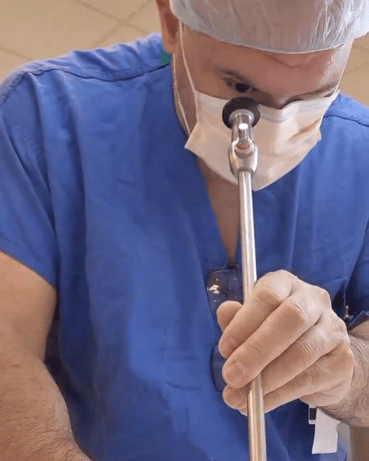
6. Next, grab a very small written text, because the scope is with a 30 degrees lens in this case, look through it under an angle so you can see properly. Look from approx. 25 mm (1 inch) distance and see if visibility is clear and bright enough or foggy and dark.
![]()
After inspecting the scope visually and to increase the accuracy of the results of the inspection and decrease the occurrence of risks down the line is, you should use an Automated Endoscope Testing System like LightControl.
Automated System Inspection
Dovideq Medical's ScopeControl Endoscope Testing Device
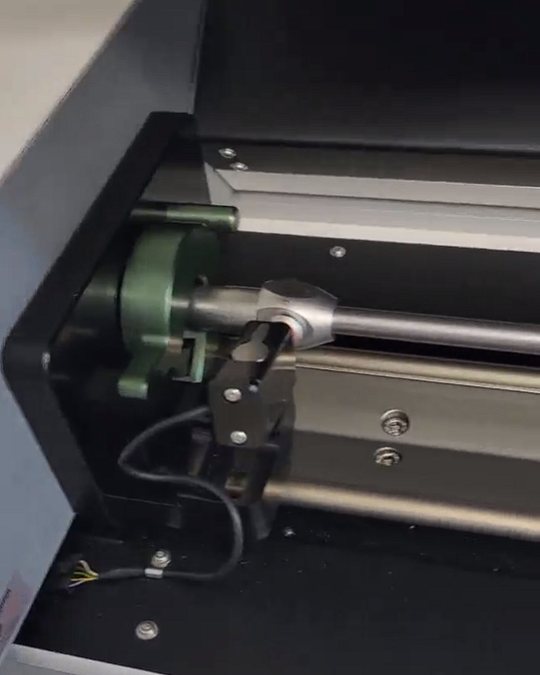
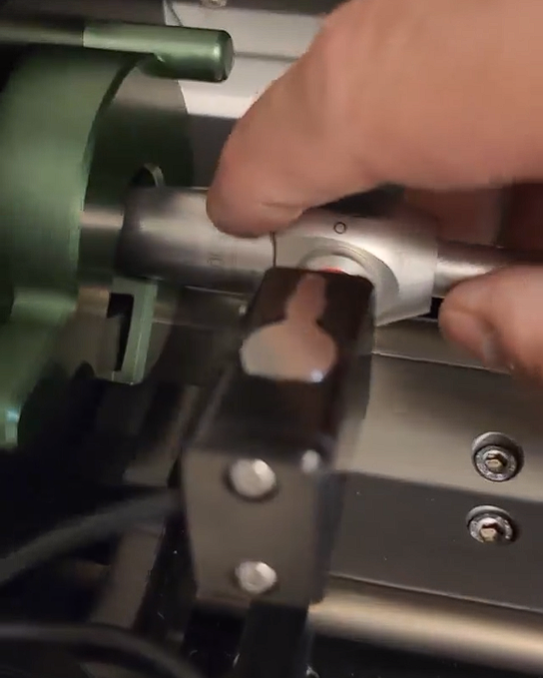
- 1. Connect the light adapter to the scope.
- 2. Mount the Scope in the ScopeControl Device, secure it by locking it in.
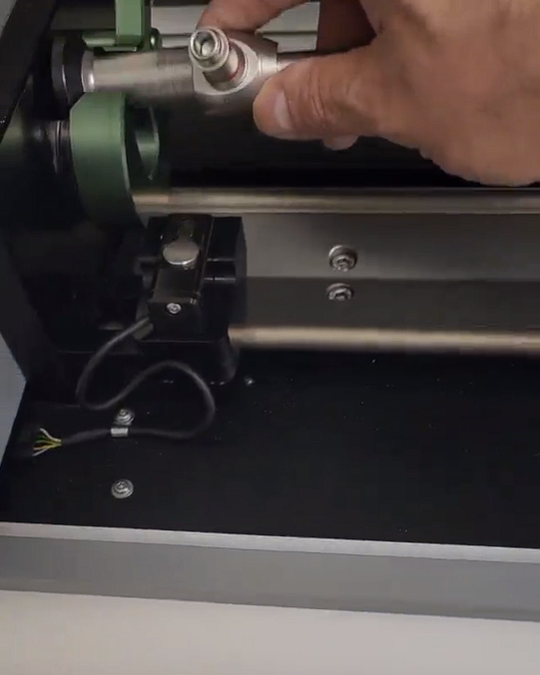
- 3. Attach the light source of the testing device to the scope adapter.
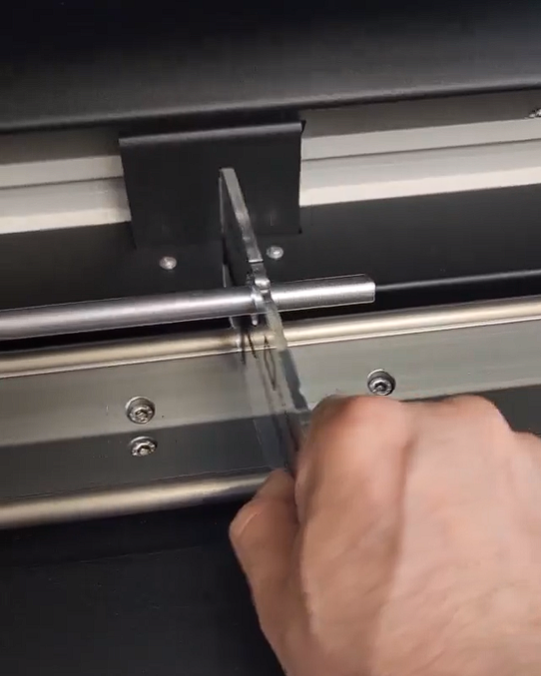
- 4. Make sure the scope isn’t bent or warped by sliding through a plastic surface with a whole in the center while the scope is locked in one place.
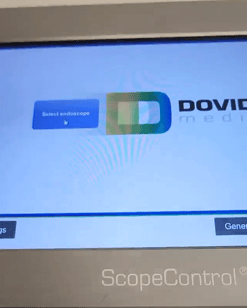
- 5. Before closing the testing device, make sure to write down/remember the model number of the scope.
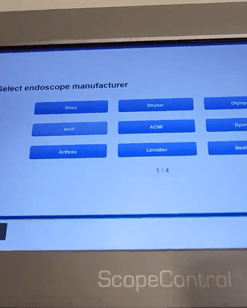
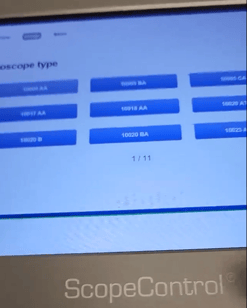
- 6. Close the ScopeControl and on the screen select the scope brand and model number and serial, after, select “test endoscope”, test usually takes around a minute.
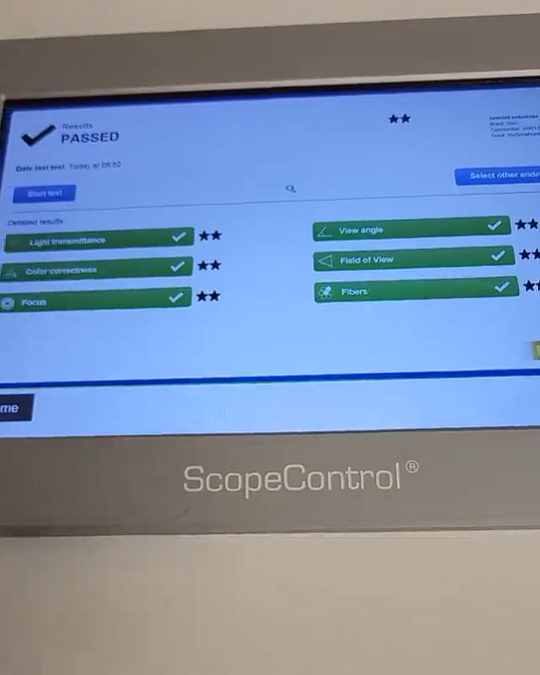
- 7. The device tests 6 different, crucially important aspects of an endoscope (light transmission, color correctness, focus, view angle, field of view and fiber quality), the results are delivered in a simple to apprehend Pass/Fail 3-star grading system and the ScopeControl determines if the endoscope is viable for reuse.
This Testing device can detect a deficiency in a much earlier stage than it would be possible to determine through the conventional inspection method. The delivered results are much more accurate and in-depth, thus reducing the risk of undetected problems that may appear along the way and ensuring that a damaged scope doesn't reach the Operating Theatre.